


This is a recipe for caramel Crispix with homemade caramel sauce mixed in. It’s perfect for holidays, a treat for school, movie night, or a simple snack to munch on.

Caramel Crispix is so delicious and addictive!
It’s the perfect snack to serve for holiday family get-togethers, work parties, packaged as a Valentine’s Day treat for your sweetheart, kids to take to school, a snack for the Super Bowl, or enjoyed on movie night with family. They will all love it!
It makes a decent big batch to share. My in-laws love it when I make it for holiday gifts.
Want more fall desserts? Check out these fun fall cupcakes!
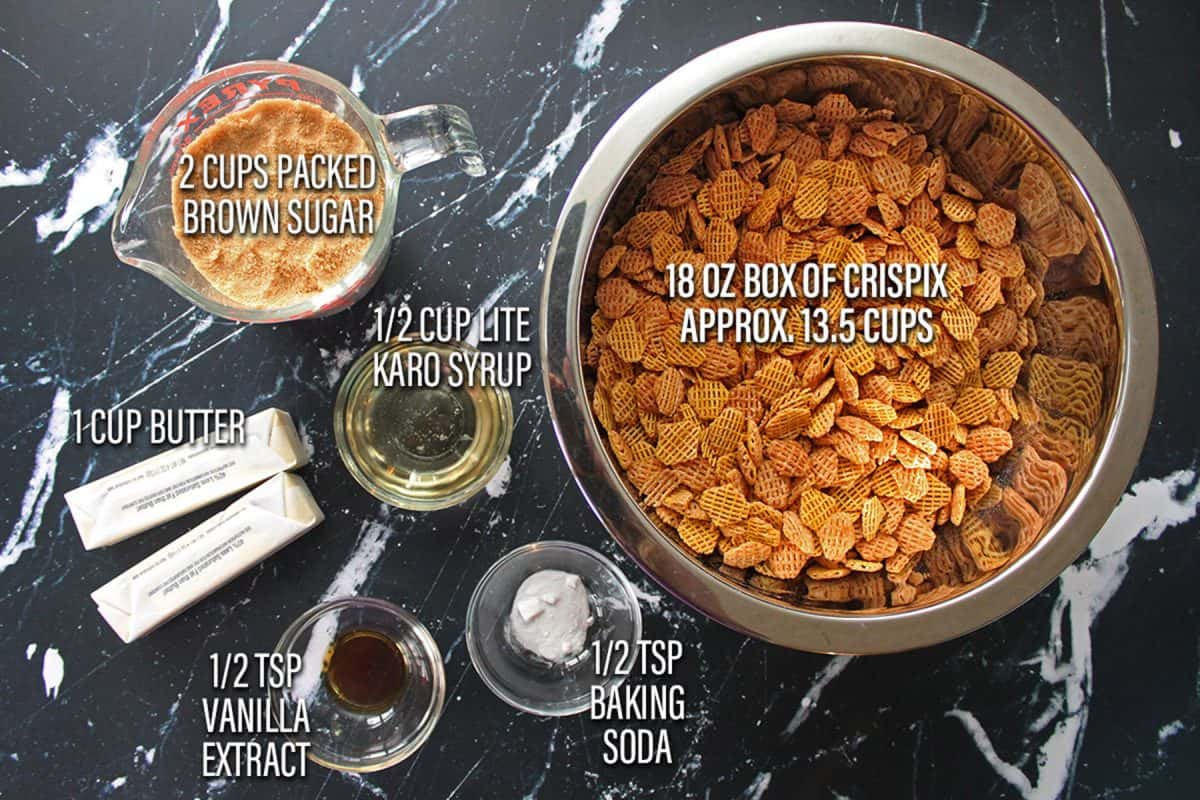
Ingredients for Caramel Crispix
- Crispix Cereal
- Butter
- Brown Sugar
- Light Corn Syrup
- Vanilla Extract
- Baking Soda
How to Make Caramel Crispix
- Start by lining a baking sheet with wax paper or parchment paper. If you opt for parchment paper, I recommend spraying it with non-stick cooking spray to prevent sticking.
- Pour Crispix cereal into a large bowl.
- Next, you’ll melt the butter on the stove in a tall pot over medium-high heat (it will double in volume after adding the baking soda at the end). Add brown sugar to the pot. Bring it to a boil to fully dissolve the brown sugar while continuously whisking.
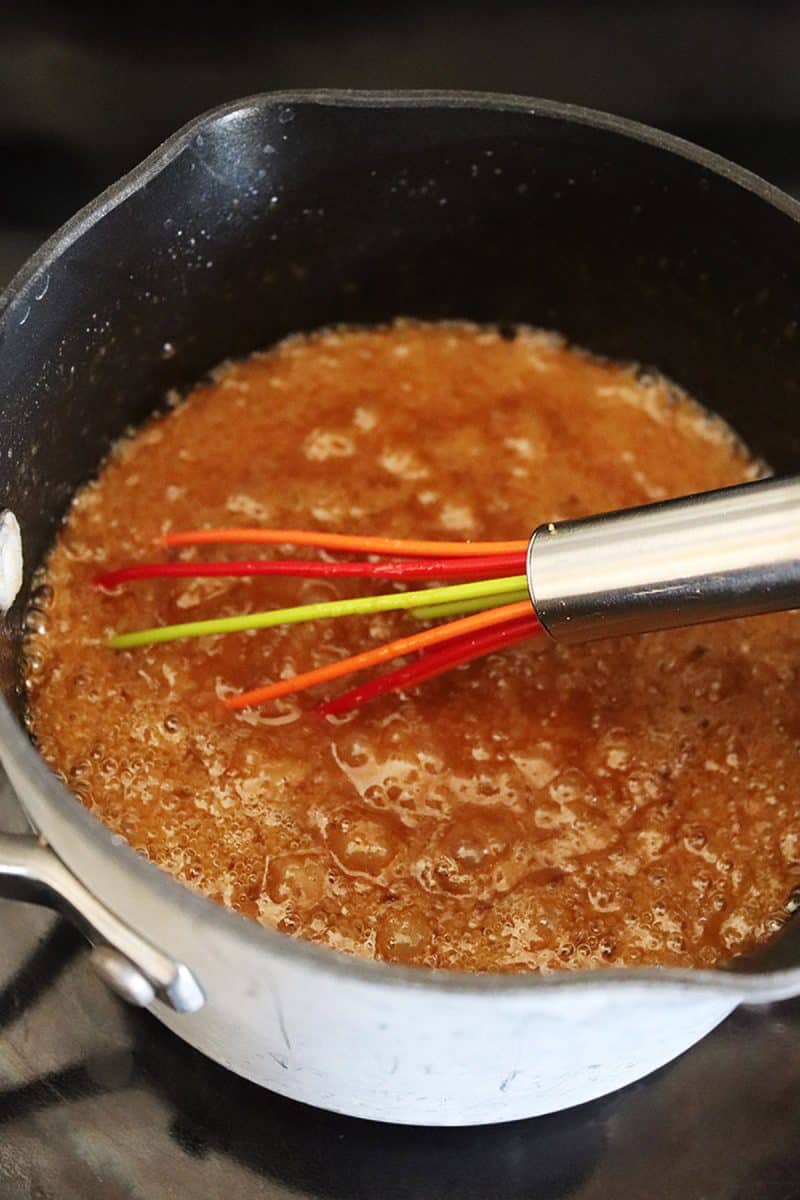
- Stir in the corn syrup and vanilla extract. Let it come to a boil again. Add baking soda and continue whisking until it becomes more foamy and doubles in volume. It will become a light tan color.
- Pour caramel mixture over Crispix in the bowl and stir to coat.
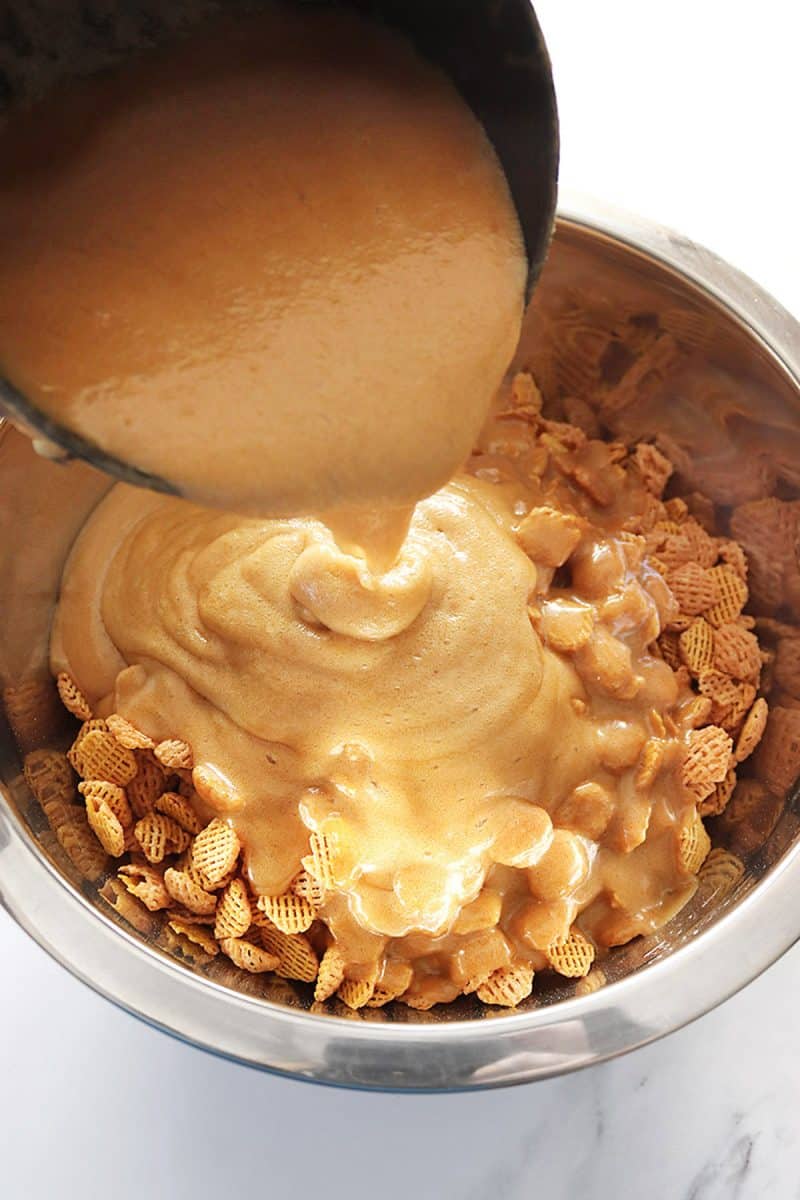
- To prevent clumping, stir again after a few minutes. Be careful not to stir too much or too vigorously because the cereal will crumble.
- Allow it to cool fully before adding it to an airtight container. I like to let mine sit out for at least an hour to dry fully, and this helps prevent sticking once it’s in a container.
- Having trouble with stickiness? Bake it in the oven at 275℉ for 15 minutes, stirring every 5-10 minutes. This gives it crispness, and the caramel sets so it’s not sticky.

Tips
- This snack does have a slight stickiness to it, but overall is not meant to turn out sticky like syrup.
- If it’s extra sticky, it’s because the baking soda was not added to the caramel syrup on the stovetop and allowed to become foamy and double in volume.
- If the baking soda is not added, it remains a caramel syrup and therefore makes a very sticky caramel cereal.
- In the end, the cereal should have a nice crunch with a caramel coating and can easily be separated into pieces as you stir it.
- If you’re having trouble with the cereal sticking, it’s best to bake it a little in the oven. Bake at 275℉ for 15 minutes, stirring every 5-10 minutes. This lets the caramel set so it does not stick anymore.
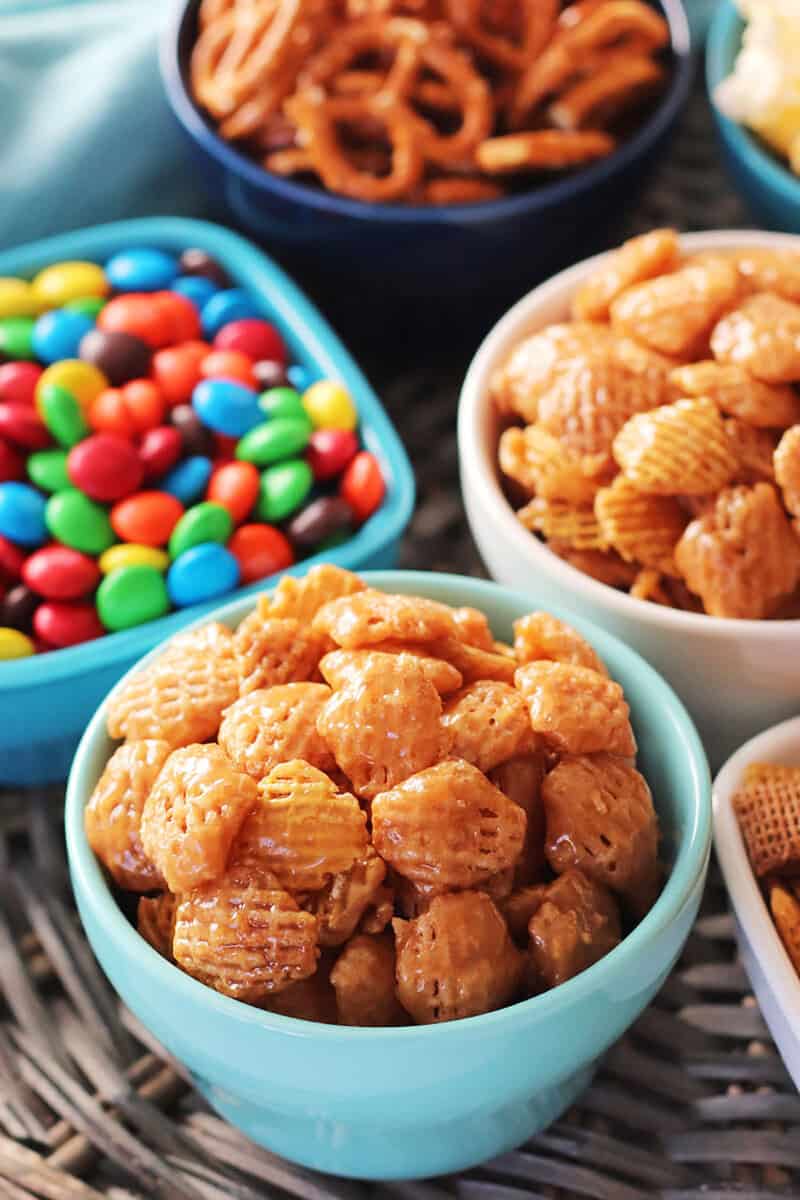
Add-ins
Want to add some goodies to this snack mix?
Try adding pretzels, peanuts, pecans, or other cereals like Chex.
If you plan to add M&Ms, candy corn, or marshmallows, let the caramel cool a little bit before adding so they do not melt.
Movie Night Snack Ideas
- Chex Mix
- Corn and Black Bean Salsa with Tortilla Chips
- Dessert Party Cheese Balls
- Party Cheese Balls
- M&M’s
- Peanuts
- Popcorn
- Pretzels

Recommended Recipes
- 19 Easy Fall Desserts
- Caramel Apple Drop Cookies
- Caramel Cookies with Chocolate Icing
- Caramel Cupcakes
- Caramel Cupcakes with Caramel Filling
- Pecan Tassies
- Salted Caramel Cheesecake with Oreo Crust
- Scotcheroos
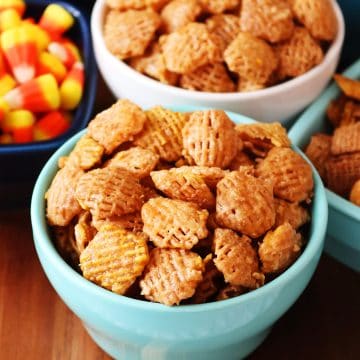
Caramel Crispix
Ingredients
- 18 ounces Crispix Cereal The big family size; ~13.5 cups of cereal
- 1 cup Butter
- 2 cups Light Brown Sugar packed
- ½ cup Lite Corn Syrup
- ½ teaspoon Pure Vanilla Extract
- ½ teaspoon Baking Soda
Instructions
- Line a baking sheet with wax paper or, if using parchment paper, spray it with non-stick cooking spray to prevent sticking.
- Pour Crispix cereal into a large bowl.
- Melt butter in a tall saucepan or pot over medium-high heat. The caramel will double in volume once the baking soda is added in the next step, so be sure it has deep sides. Add brown sugar and bring to a boil, while continuing to whisk.
- Once boiling, stir in corn syrup and vanilla extract. Let it come to a boil again while continuously whisking. Add baking soda and continue whisking until it becomes more foamy and doubles in volume. It will become a light tan color. Pour mixture over Crispix in the bowl and stir to coat.
- Immediately pour the cereal onto the prepared baking sheet to cool. To prevent clumping, stir again after a few minutes. Be careful not to stir too much or too vigorously because the cereal will crumble.
- Allow it to fully cool before adding it to an airtight container. I like to let mine sit out for at least an hour to let the caramel set, and this helps prevent sticking once it's in a container.



Mary Jacobs says
These are so delicious!! I added pink sea salt for that sweet and salty!! Yummy!! I did have to bake for 30 minutes and I added the baking soda and let it double to size… but still awesome snack! Thank you!!
Valerie says
I add dry roasted peanuts to this and it is yummy!
Nickie says
I want to make this for my co-workers for Christmas. Can you add peanuts or pretzels to it?
Tiffany says
Hi Nickie,
Yes, peanuts and pretzels make great additions. Add them in at the same time you add the Crispix cereal. I would leave out the amount of Crispix for however much of the peanuts and pretzels you plan to add so there is enough caramel coating.
Merry Christmas!
-Tiffany
Sam says
Why is it still super sticky after it is cool?
Tiffany says
I’ve encountered exactly what you’re referring to before!
The trick to keeping the caramel from being too sticky later is, while in the saucepan, adding the baking soda and allowing it to foam up while the pot is still boiling hot. (See my above photos to see what it should look like.)
This prevents it from being a sticky caramel sauce and more of a foamy substance. It should still be foamy when added to the Crispix cereal and as it cools, it sets and becomes a firmer coating.
Pat Means says
The taste is great and easy to make! How do you store it??
Tiffany says
Hi Pat,
I’m so glad you are enjoying the caramel Crispix! For storing, I recommend using an airtight container like a large tupperware container or a large ziploc bag. I typically use tupperware whenever I make it. If you happen to have a large metal canister from popcorn, those work great too! I’d store it for up to 5-7 days.
Let me know if you have any questions!
-Tiffany